Fall is the perfect time of year to start thinking about seed saving! By the end of October, most of the vegetables in the garden have been harvested, and the first frost should be right around the corner.
While the gardening season is starting to wind down, a lot can still be done to benefit your kitchen, prepare for winter and the next growing season.
You can still turn any green tomatoes into tomato chow, plant garlic cloves for next year's growing season, and bringing delicate herbs indoors to prolong their harvest.
Benefits Of Seed Saving
A favorite fall activity of mine, and one that will save you money in the long run is seed saving. A lot of vegetables and flowers will set seed in their first year. Some, like carrots, will only set seed their second year, and the whole plant needs to be over-wintered to reach the seed producing stage. Regardless, there are always plants in the garden you can let go to seed, in order to ensure an endless supply of seeds!
Since most people grow tomatoes, it's usually the best place to begin if you have never attempted to save seed before.

Seed saving, especially tomato seeds is really quite easy and anyone can do this mini project at home, provided you have grown your own tomatoes. Why start seed saving though you might ask? Wouldn't it just be easier to go out and buy a few seeds at the local nursery for 2 or 3 dollars?
It might be, but consider the fact that most seed packages only contain between 25 and 50 seeds per package. This very quickly starts getting expensive compared to 25 and 75 seeds you could get out of a single tomato at home. An added benefit of saving your own seed is that you can always take part in a local seed exchange as well, which provides the opportunity to meet other gardeners and even picking up some rare varieties!
So How Do You Save Tomato Seeds?
To start saving your own tomato seeds at home, begin by collecting a handful of the biggest ripest fruit you can find on the plant.
Make sure they have not been attacked by bugs, have any signs of disease or other imperfections. The seeds from this fruit will need to be as healthy as possible to give you the best chance at large healthy plants when you go to plant these seeds the following year.
Next, wash the fruit in warm water to remove any dirt or insects that may be clinging to it then dry the tomatoes and set them aside.
Remove the seeds
Over a large dish pull the tomato in two, by pushing your thumbs into the blossom end ( bottom) of the tomato. Using your fingers scoop out all the tomato guts, juice, seeds, the whole nine yards. I do this with my hands to avoid cutting into the seeds with a knife.
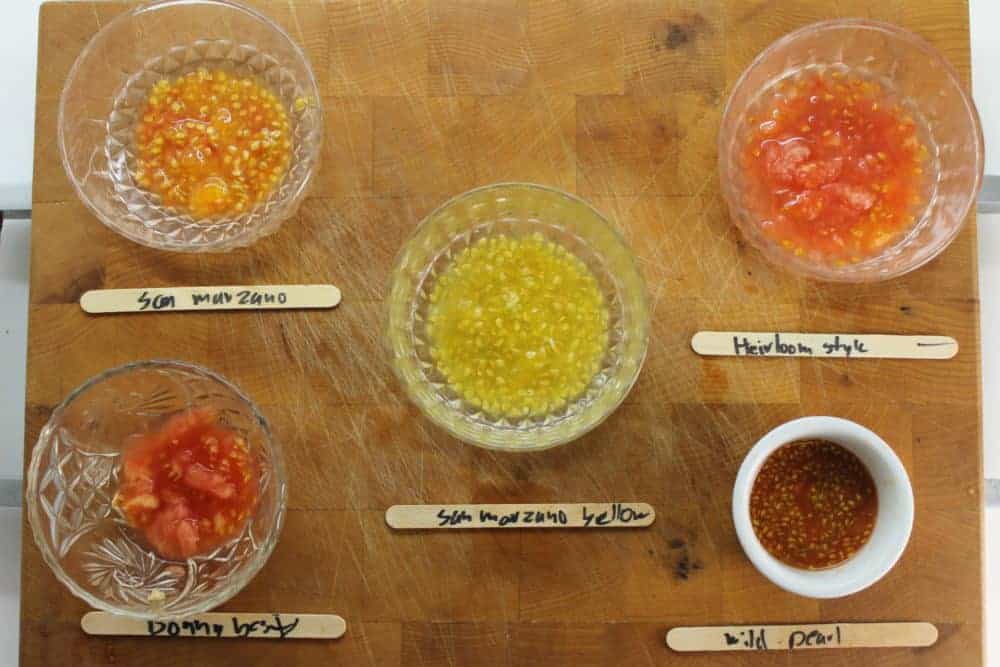
If you are only saving the seeds from a few tomatoes use a smaller dish that you can simply cover with plastic wrap. Otherwise, you may want to choose a larger container with a sealable lid. The juiced/crushed tomatoes (now seedless) can be saved and frozen to make tomato sauce or roasted and turned into this delicious roasted tomato soup.
Fermenting The Tomato Seeds
As mentioned above wrap or seal the container containing the seeds and set in a dark spot such as the corner of a shelf for 3 or 4 days to ferment. The seeds and juice will start to bubble slightly showing that fermentation is happening. This fermentation is good for the tomato seeds as it helps kill any bad bacteria and can increase the seeds resistance to various diseases.
It also improves the chance of the seeds germinating next year. If the pulpy mush starts to grow a little bit of mold, don't worry! Simply stir it under with a clean spoon. The only side effect may be some discoloration of the seeds, which will not affect their ability to grow. I personally like using glass containers and plastic wrap because it lets me see what is going on.
Rinse & Dry
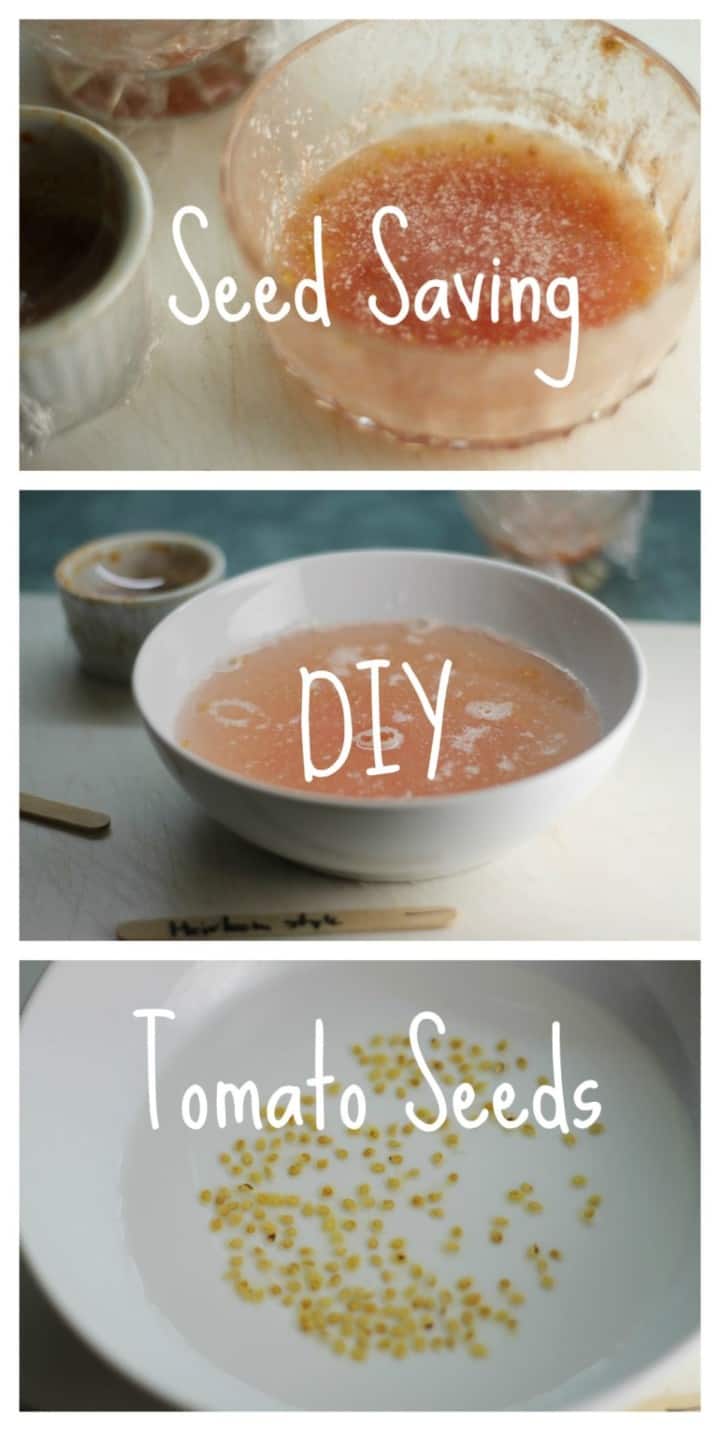
Once the seeds have fermented for three to four days, remove the covering and in a larger bowl rinse the seeds with a good amount of fresh water. Healthy seeds that will sprout should sink to the bottom.

Pour off the pulpy water mix, and rinse the seeds another two times until they look clean and free from any pulpy material.
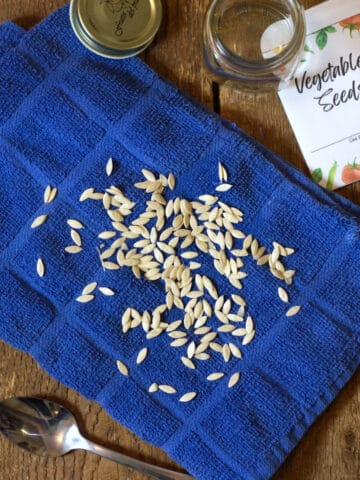
Spread the seeds out on a sheet of paper towel or a clean cloth to air dry. I find it is best to dry the seeds overnight by placing them close to a radiator, but not on the radiator. You just want the warm air from the radiator to help dry the seeds, don't cook them!

Storing Your Seeds
Once the seeds are completely dried it is best to store them in an airtight
container such as a glass mason jar. I bought little 250ml jars which I labelled with the date that the seeds were stored and the variety of tomato. Keep these saved seeds in a cool and dark location for next year's planting season!
The tomato seeds may last up to six years if they were properly fermented, washed, and stored, though most likely they will be used long before then!
If you have saved your own seeds and have any of your own tips or tricks leave a comment below!
Saving Your Own Tomato Seeds
Tools Needed
- 1 medium sized bowl or dish
- Mason jars to store the dried seeds
Materials Needed
- 2 whole large ripe tomatoes from the garden
Instructions
Selecting The Tomatoes
- To start saving your own tomato seeds at home, begin by collecting a handful of the biggest ripest fruit you can find on the plant. Make sure they have not been attacked by bugs, have any signs of disease or other imperfections. The seeds from this fruit will need to be as healthy as possible to give you the best chance at large healthy plants when you go to plant these seeds the following year.
Wash & Remove The Seeds
- Next, wash the fruit in warm water to remove any dirt or insects that may be clinging to it then dry the tomatoes and set them aside.
- Over a large dish or bowl, pull the tomato in two, by pushing your thumbs into the blossom end ( bottom) of the tomato. Using your fingers scoop out all the tomato guts, juice, seeds, the whole nine yards. I do this with my hands to avoid cutting into the seeds with a knife.
Fermenting The Tomato Seeds
- Wrap or seal the dish containing the seeds and set in a dark spot such as the corner of a shelf for 3 or 4 days to ferment. The seeds and juice will start to bubble slightly showing that fermentation is happening. This fermentation is good for the tomato seeds as it helps kill any bad bacteria and can increase the seeds resistance to various diseases.
Rinse & Dry
- Once the seeds have fermented for three to four days, remove the covering and in a larger bowl rinse the seeds with a good amount of fresh water. Healthy seeds that will sprout should sink to the bottom. Pour off the pulpy water mix, and rinse the seeds another two times until they look clean and free from any pulpy material.
- Spread the seeds out on a sheet of paper towel or a clean cloth to air dry. I find it is best to dry the seeds overnight by placing them close to a radiator, but not on the radiator. You just want the warm air from the radiator to help dry the seeds, don't cook them!
Storing Your Seeds
- Once the seeds are completely dried it is best to store them in an airtight container such as a glass mason jar. Little 250ml jars which I labelled with the date that the seeds were stored and the variety of tomato work wonderfully. Keep these saved seeds in a cool and dark location for next year's planting season!
- The tomato seeds may last up to six years if they were properly fermented, washed, and stored, though most likely they will be used long before then!
I'm all about sharing information and learning as much as you can. Seed saving is just one of the few gardening tricks that will make your garden flourish from year to year! For more tips and trick on gardening for your home kitchen and weekly recipes, check out our Facebook page, or follow us on Pinterest and Instagram. You can also find more gardening related posts here in the Earth section of the site.

Alexandra | Occasionally Eggs
Wonderful instructions! I'm a big fan of seed saving, but I've always done it a little differently (just through trial and error) and it's great to have an outline in place. Thank you!
Justine | JustineCelina.com
Huh. This was fascinating -- a process I had no idea about. Thanks for another educational post, Markus! I'm going to start bookmarking your gardening resources for 2017 when I'm (hopefully) able to start up my community garden!
Redawna
Great post! Love the information here. I have saved seeds before from things like peppers, petunias, dill and various flowers but never from my tomatoes. All my seeds get dried then bagged and stored somewhere dark and cool but nothing I save seeds from goes though the process you talk about here. In just a few years you can amass a good sized collection of seeds. I had no idea about the fermentation process. Very interesting. Sharing with a friend who grows huge amounts of toms every year.
Have a fantastic weekend.
Sean@Diversivore
Markus, this is awesome. I didn't know about the fermentation step involved in saving tomato seeds (in fact, a lot of this is new to me - I've only had a garden for a couple of years and I'm still trying to figure out how best to maximize my use of it). I've heard that tomatoes are exceptionally good at self-seeding, so this seems like an excellent project to start with. It's too late for me this year, but hopefully I can hit the ground running and get some interesting varieties into the ground! I'll definitely be referring back to this then!
janet @ the taste space
Great info. I started saving seeds this year but I didn't save them from my tomato plants. I planted a few varieties close to each other and I was worried about cross pollination. I see you saved a few varieties, so am I being overly paranoid?